
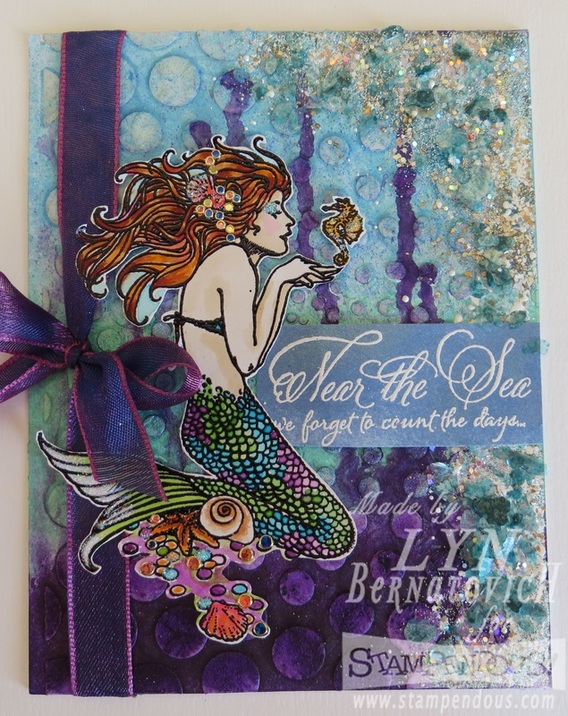
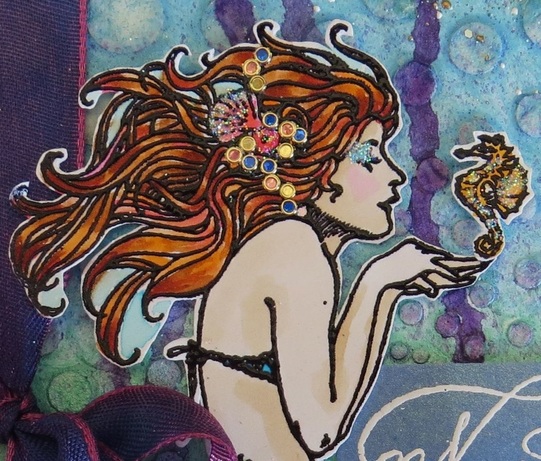
I was asked to create a gratitude card recently and decided to give a really cool Penny Black Hidden Lane #40-416 stamp a try. I played with this stamp once before with disastrous results. Because I'm currently heavy in my water coloring phase, I gave this image another go.
Here's the result:
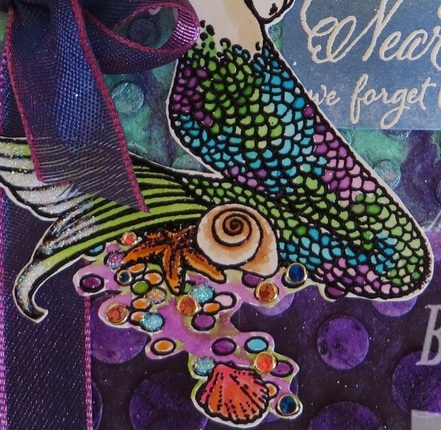
Here's the result:
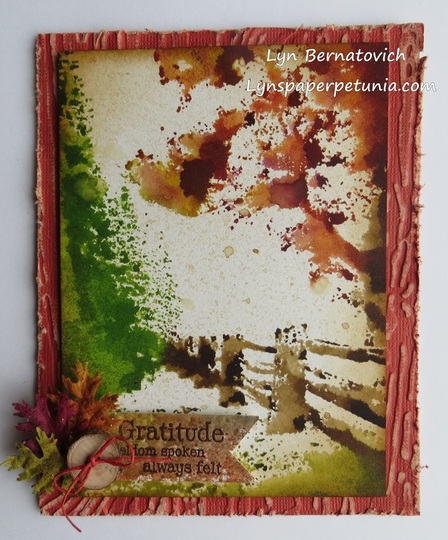
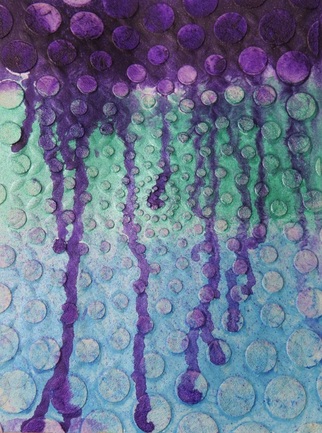
The water color panel was first spritzed with a mix of water and instant coffee and allowed to dry. Next, I used my Misti to perfectly align the stamp over the watercolor paper. The image was colored with Distress cubes, which were easier to use while adding color onto areas of the image, and then spritzed with water.
I kept the colors fairly simple applying color from light to dark:
Pine Tree: Peeled Paint, Mowed Lawn
Grass Area: Peeled Paint
Fence: Vintage Photo, Walnut Stain
Foliage Tree: Peeled Paint, Spiced Marmalade, Fired Brick, Seedless Preserves
I kept the colors fairly simple applying color from light to dark:
Pine Tree: Peeled Paint, Mowed Lawn
Grass Area: Peeled Paint
Fence: Vintage Photo, Walnut Stain
Foliage Tree: Peeled Paint, Spiced Marmalade, Fired Brick, Seedless Preserves
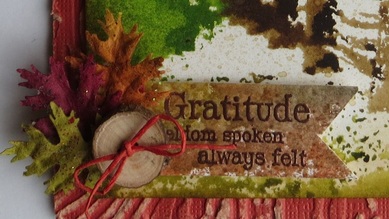
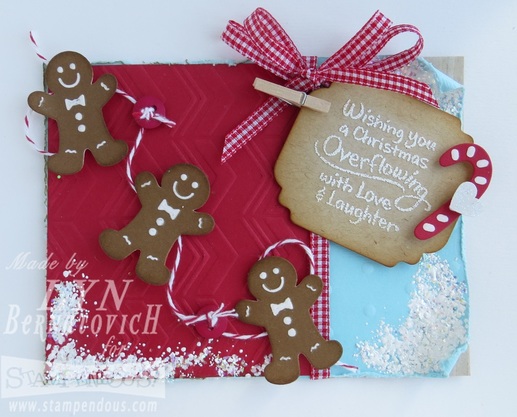
Gratitude banner was heat embossed with Stampendous Detail Copper onto a scrap of previously colored background paper from my stash. The twig button was made by my BIL.
Here's the story with the little leaves. I didn't have a leaf diecut in the size I needed (I know, shocker). The original leaves were from a package of Prima leaves that were huge. All I did was hand punch little leaves from the big leaves. (I had no idea if that would work because of the bulkiness and/or the punch wouldn't be sharp enough. I was thrilled it worked!)
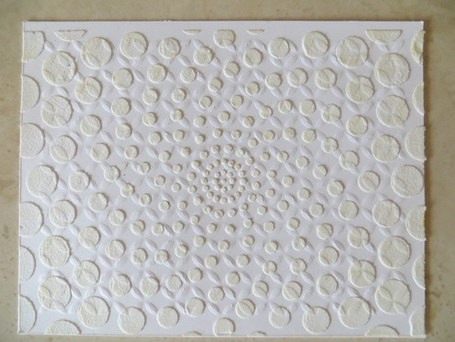
The dry embossed background (Core'dinations) was a wood grain pattern from Spellbinders Bricks and Bark that was sanded with a Tim Holtz sanding block. Edges were distressed with a Prima distressing tool.
Once dry, the water color image was mounted on craft foam for a completely smooth raised panel. The inside sentiment (Thank you for being so amazing) is also heat embossed with Stampendous Detail Copper.
Hope you are inspired today and thanks for stopping by!
LYN
Here's the story with the little leaves. I didn't have a leaf diecut in the size I needed (I know, shocker). The original leaves were from a package of Prima leaves that were huge. All I did was hand punch little leaves from the big leaves. (I had no idea if that would work because of the bulkiness and/or the punch wouldn't be sharp enough. I was thrilled it worked!)
The dry embossed background (Core'dinations) was a wood grain pattern from Spellbinders Bricks and Bark that was sanded with a Tim Holtz sanding block. Edges were distressed with a Prima distressing tool.
Once dry, the water color image was mounted on craft foam for a completely smooth raised panel. The inside sentiment (Thank you for being so amazing) is also heat embossed with Stampendous Detail Copper.
Hope you are inspired today and thanks for stopping by!
LYN


 RSS Feed