
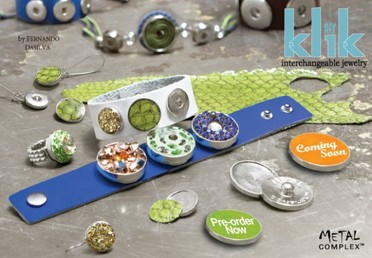
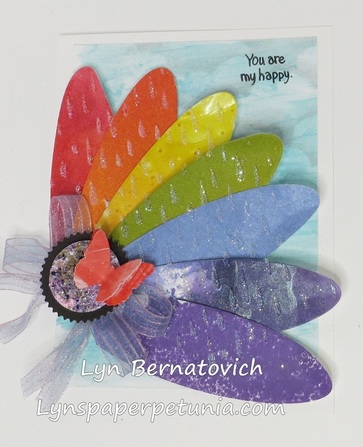
Klik Interchangeable Jewelry from Metal Complex is a fantastic new line of DIY accessory options. With two snap sizes and dozens of settings to snap your creations into, this terrific product is fun to play with for every level of crafter. There are tons of pre-made snaps so you can just "klik and go" to change up your look. This week we're playing with the Metal Complex Snap Bezel Blanks so we could craft our own masterpieces of wearable art.
To make our wonderful Klik jewelry pieces we used products by Environmental Technology, Inc. (ETI) who generously sent our team some of their wonderful Jewelry Resin. This two part resin is incredibly easy to use and creates fantastic, professional results. We love using it here on the Stampendous Design Team. This great resin is sold at Resin Obsession, but you can also find it at Michaels and other fine craft stores. You can get thousands of ideas for using resin to create your own pieces on theresincrafts blog or on the I Love Resin blog.
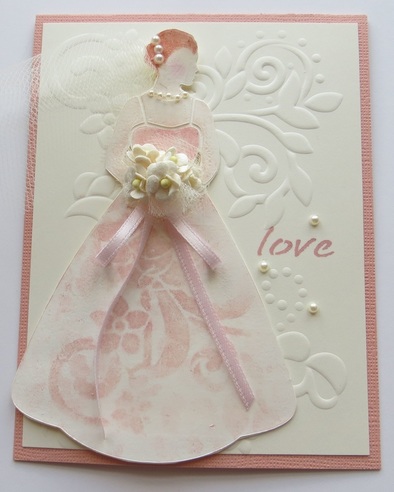
Here's my jewelry project today:
To make our wonderful Klik jewelry pieces we used products by Environmental Technology, Inc. (ETI) who generously sent our team some of their wonderful Jewelry Resin. This two part resin is incredibly easy to use and creates fantastic, professional results. We love using it here on the Stampendous Design Team. This great resin is sold at Resin Obsession, but you can also find it at Michaels and other fine craft stores. You can get thousands of ideas for using resin to create your own pieces on theresincrafts blog or on the I Love Resin blog.
Here's my jewelry project today:

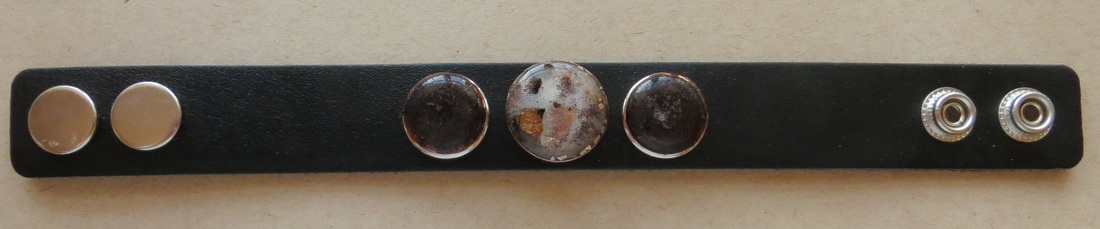
This bracelet is all about the Stampendous Encrusted Jewel Bronze Kit (EJK07) that I used. I loved the black leather base of the bracelet along with the bronzes/browns/glitters/mica flakes. The light really catches the glitter in the small snaps on either side of the center bezel. I simply layered a little bit of resin, tossed in some glitter and after I let it set awhile (about 30 minutes), I poured resin to top it off. I did color the metal around the snap with Chameleon Pen (Bark BR5).
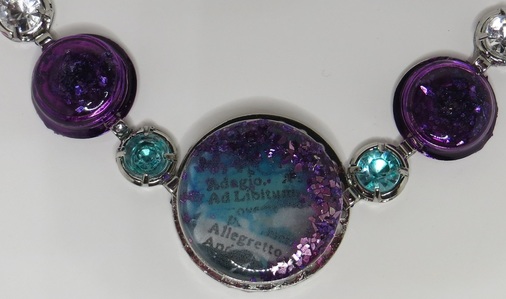
The focal center bezel began with a little bit of resin and some glitter and glass glitter in a few little areas. I let that that layer cure awhile. Next I poured a little more resin and added Tea Stained Mica Flakes. I didn't achieve the clear resin depth I was hoping for but that may be due to where I live. I'm really happy with the little flecks of mica peeking through the resin. I can't wait to play again with the snaps and bezels. Warning, they are creatively addicting!
Here are the Stampendous Official Rules for all contests. Commenting will close Sunday, May 3rd and winners will be announced the afternoon of May 4th. Just comment on each designer's blog to be eligible.
Stampendous Blog
Lea Kimmel
Pam Hornschu
Amy Hurley-Purdie
Lyn Bernatovich (That's me!)
Jamie Martin
Janelle Stollfus
Wendy Price
Tenia Nelson
Metal Complex Blog


 RSS Feed