
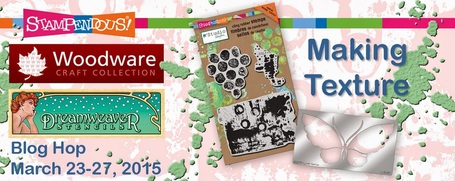
This week we’re going to celebrate with the awesome Woodware Design Team and the Dreamweaver Stencils Dream Team all of the the great Stampendous and Dreamweaver Stencils products that Woodware makes available to the UK market. This is good news for our crafty friends in the UK because we’ll be offering prizes and our UK friends are eligible to win!! We’ll be offering three prizes in the UK and three in the US. Each prize package will consist ofNathalie Kalbach’s terrific Grunge Mixed Media Cling Rubber Stamp Sets and the beautiful Zen Butterfly Dreamweaver Stencil! Both products are ideal for adding texture and backgrounds to your projects!
Deadline to comment is Sunday, March 29th, Pacific Time. Winners will be picked using random.org and announced Tuesday, March 31st, in the afternoon.
And that’s our theme!! Making Texture. We hope you’ll enjoy the wonderful inspiration that three talented teams will bring you this week! Be sure to visit all the blog links listed and leave your comments! Each comment will count as an entry towards one of the terrific prize packages.
Here's my texture projects for today!
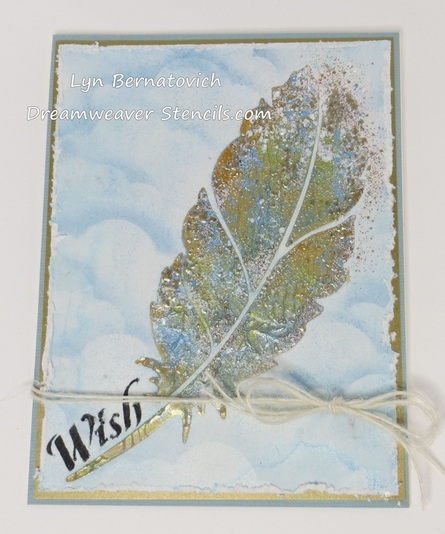
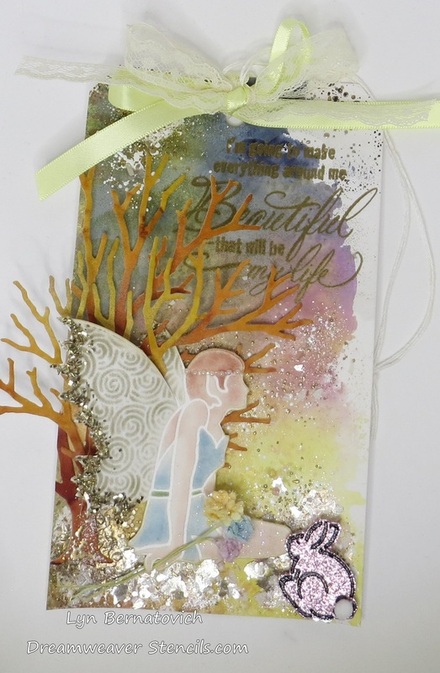
I LOVE the feather stencil (LG760)!! I especially love finding ways to make it look dimensional! Today's post might be called the "paste and peel" technique because it is pasted as usual (I used metallic gold) and, while the stencil was still in place, I laid a scrap piece of cardstock over the pasted stencil, lightly rubbed it with my hands and then "peeled" the cardstock off to reveal incredible texture! I carefully remove the stencil as usual.
Next, I utilized the Molten Magic techique by sprinkling 3 different colors of Dreamweaver FX powders (Saphhire, Wedgewood, Navajo Sky) along with Stampendous encrusted embossing powders (Aged Rose, Shabby Pink). Applying heat caused the colors to melt, bubble and blend beautifully.
For the background, I mixed FX powder with water to create a puddle of paint and proceeded to slop on paint with a brush every here and there to create a blue sky background. Once dry, I added clouds using the Picasso tool with a white Paintstik and a large stencil brush. To add a little more definition to the clouds, I went back in with the Picasso tool with blue Paintstik.
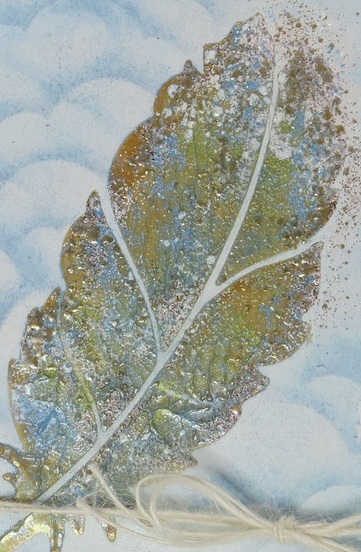
The finishing touch was to add the partially stenciled word Wish from the Birthday Words Stencil (LG704) using Splendor inks. Here's a closeup of the gorgeous texture of the feather:
Next, I utilized the Molten Magic techique by sprinkling 3 different colors of Dreamweaver FX powders (Saphhire, Wedgewood, Navajo Sky) along with Stampendous encrusted embossing powders (Aged Rose, Shabby Pink). Applying heat caused the colors to melt, bubble and blend beautifully.
For the background, I mixed FX powder with water to create a puddle of paint and proceeded to slop on paint with a brush every here and there to create a blue sky background. Once dry, I added clouds using the Picasso tool with a white Paintstik and a large stencil brush. To add a little more definition to the clouds, I went back in with the Picasso tool with blue Paintstik.
The finishing touch was to add the partially stenciled word Wish from the Birthday Words Stencil (LG704) using Splendor inks. Here's a closeup of the gorgeous texture of the feather:
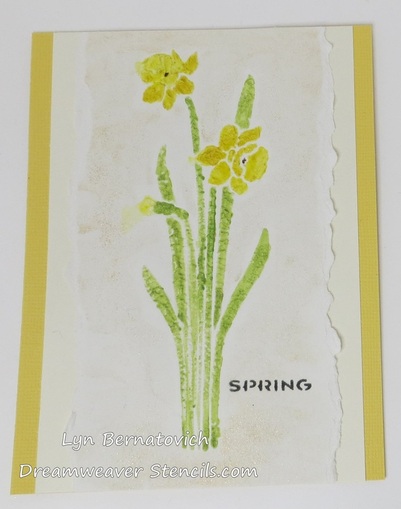
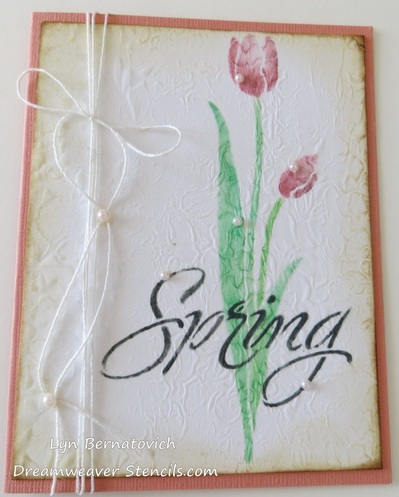
I thought you'd enjoy a second card I created with the same paste and peel technique using the Long Daffodils Stencil (LL428). With the stencil in place and taped at the top, I mixed Richeson acrylic paints, Golden Acrylic Glazing and Dreamweaver Metallic Gold Dust FX for the daffodil and carefully painted in the areas. I did get a bleed where I didn't want it and cleaned it up with water and a paper towel. If you look for it, you can still see it! I washed a mix of water and Gold Dust FX around the flower. Spring is a partial stenciling from the Four Seasons Stencil (LJ875). I love those tiny little words!
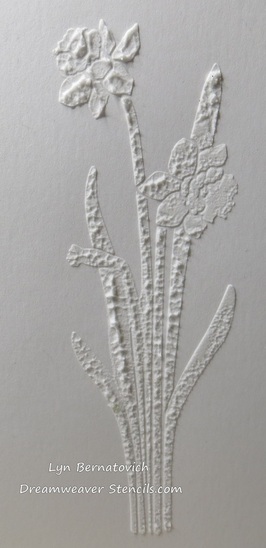
To really appreciate the texture that peeling creates, here's a closeup of the daffodil before it was painted where I used white matte paste. Isn't it gorgeous? There's so many coloring options to go in from here and I sure hope you will give this technique a try!
To really appreciate the texture that peeling creates, here's a closeup of the daffodil before it was painted where I used white matte paste. Isn't it gorgeous? There's so many coloring options to go in from here and I sure hope you will give this technique a try!
It's been a fabulously fun week for me! Thanks for stopping by today and I'd love it if you'd comment on my post before hopping over to the next designer's blog!
Stampendous Blog
Jamie Martin
Amy Hurley-Purdie
Janelle Stollfus
Pam Hornschu
Kristine Reynolds
Asia
KingWendy Price
Lea Kimmel
Woodware Craft Collection Blog
Siobhan Fyffe
Dreamweaver Stencils Blog
Lyn Bernatovich
Cindy Groh
Gill Wilson
Laura Drahozal
Louise Healy
Lynn Mercurio
Alison Heikkila
Stampendous Blog
Jamie Martin
Amy Hurley-Purdie
Janelle Stollfus
Pam Hornschu
Kristine Reynolds
Asia
KingWendy Price
Lea Kimmel
Woodware Craft Collection Blog
Siobhan Fyffe
Dreamweaver Stencils Blog
Lyn Bernatovich
Cindy Groh
Gill Wilson
Laura Drahozal
Louise Healy
Lynn Mercurio
Alison Heikkila


 RSS Feed