

We recently went on a road trip that was eight hours round trip. I had the bright idea to paint cards using supplies that wouldn't involve much effort to work with while riding in the car.
Here's what I brought along that all fit in my purse:
Aquarelle Watercolor Pencils
Faber-Castell Water Brush Pen
Strathmore 5x7 Watercolor paper
.3 Copic Multi Liner Black
Here's what I brought along that all fit in my purse:
Aquarelle Watercolor Pencils
Faber-Castell Water Brush Pen
Strathmore 5x7 Watercolor paper
.3 Copic Multi Liner Black
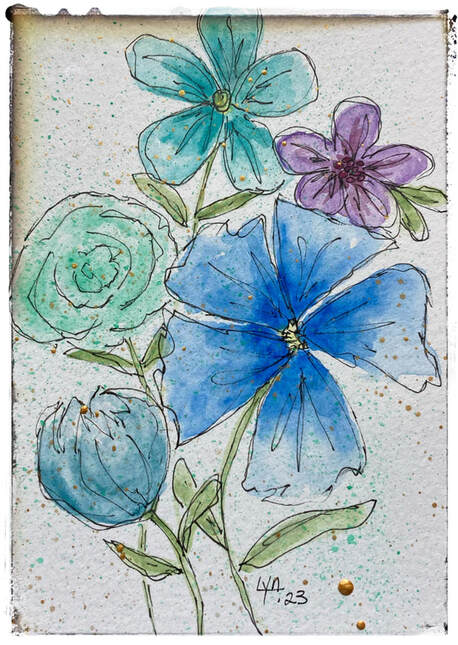
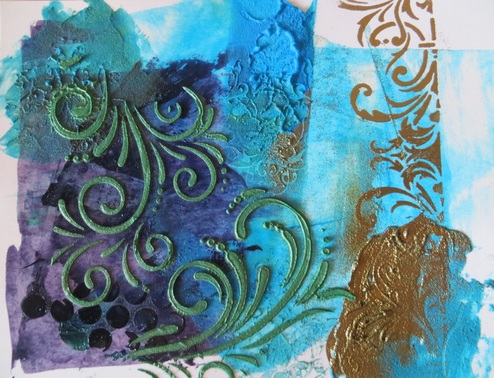
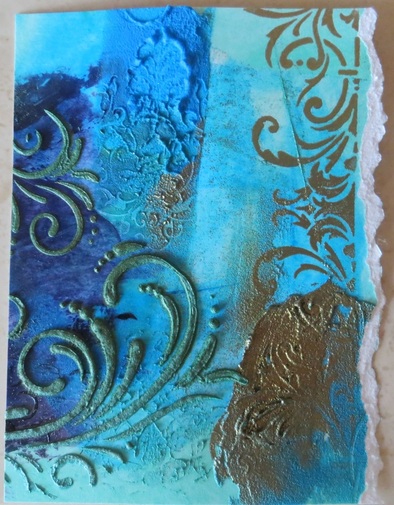
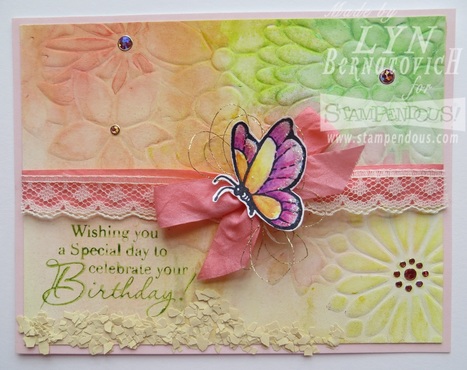
All of the flowers were free hand painted first. When dry, I decided to doodle them. The flowers were just silly shapes that I just made up as I went along.
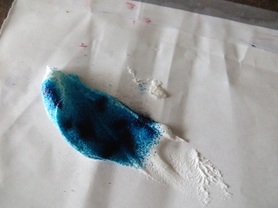
My process for applying paint to paper was to swipe the wet tip of the water brush over the tip of the pencil until I had picked up sufficient color and then colored each flower, leaves and stems. Sometimes I created a flower shape with the clean water brush first and then brought in paint from the pencil. The overall splatters were created once I got back home to my craft room space.
It was so much fun having simple supplies to work with and made the long ride so enjoyable.
Thanks for stopping by!
XOXO
LYN


 RSS Feed