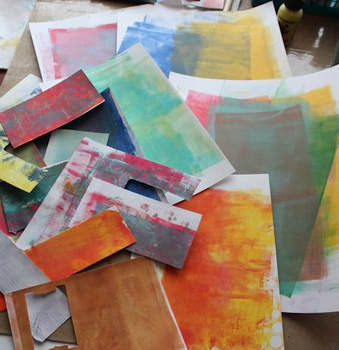
To begin, go into your stash and find a bunch of background papers that you've already created. Don't be too concerned about what you're looking for at this point. For this demo, I've chosen from this pile of scraps to work with:
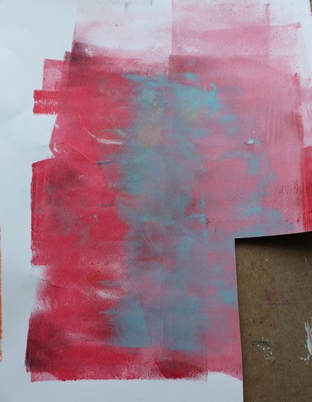
Decide what card panel to use. Think about piecing different scraps together if you don't have a large enough section. Since I already made a blue mixed media card (also in E-News #217) I chose this piece for my card panel:
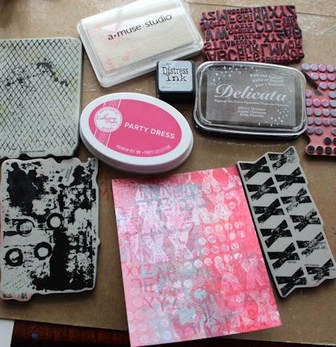
After cutting it down to 4-1/4 x 5-1/2 inches, creating the stamped background begins! This is the finished stamped panel and the supplies I used to achieve the look. I started stamping with the pink (Party Dress) ink, then Weathered Wood, White A Muse Studio, and finally silver Delicata. None of the inks overpower each other, yet you can see each layer. If you're new to stamping in layers like this, I recommend lighter inks until you get more comfortable layering.
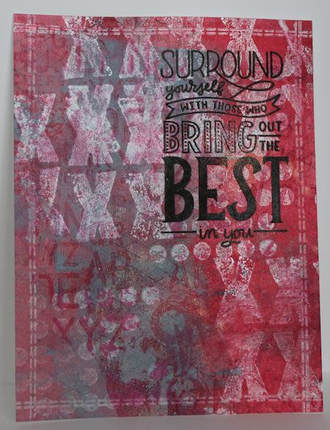
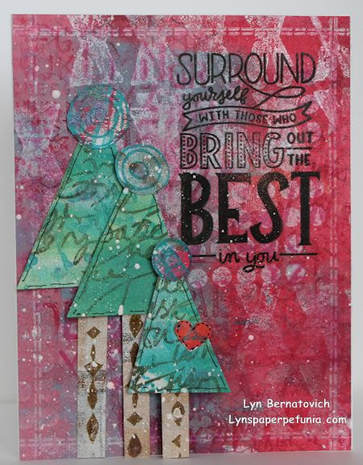
The stamped images are now finished and the focal sentiment added. Here you can really pick out each stamped layer. All that's left are the triangle trees!
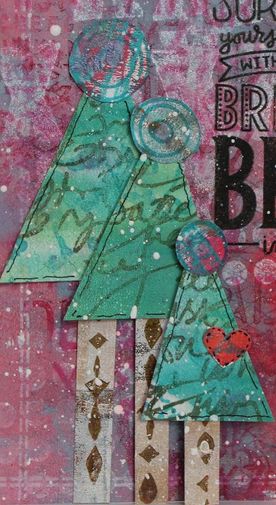
If you watch Martice Smith's video, she cuts her shapes first and then adds stamping. I added stamping first over scrap sections of papers and then cut out my shapes as I felt that was easier than stamping onto little paper pieces. She added a lot more doodling but her backgrounds were white whereas mine aren't and I didn't need to add much other than outline the trees and heart in pen.
Finally, the little punched heart and splatters of acrylic paint are added to complete the card!
Supplies Used:
Stamps: Stampendous, Amuse Studio, Catherine Pooler Designs, Dina Wakely
Ink: Catherine Pooler Designs, Tsukineko
Papers: Hammermill Color Copy, Digital
xoxo
LYN


















 RSS Feed