
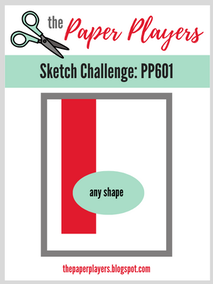
Today's sketch over at The Paper Players is one that I always enjoy, which is what prompted me to join in on the fun! As I was posting my card I noticed the sketch has a framed panel around the card front that I didn't remember seeing originally. That's the beauty of card challenges, it is up to ones own style and interpretation.
Here's the sketch:
Here's the sketch:
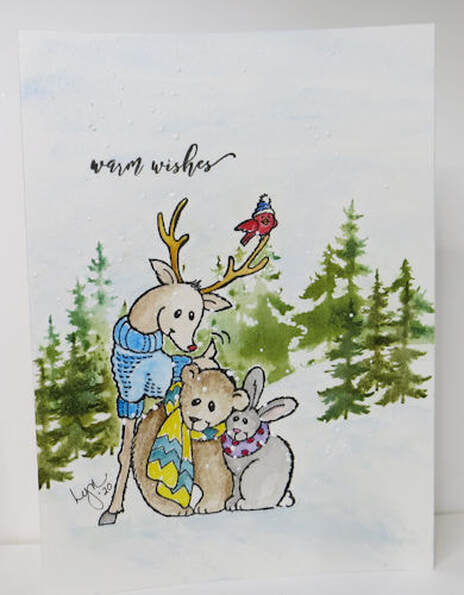
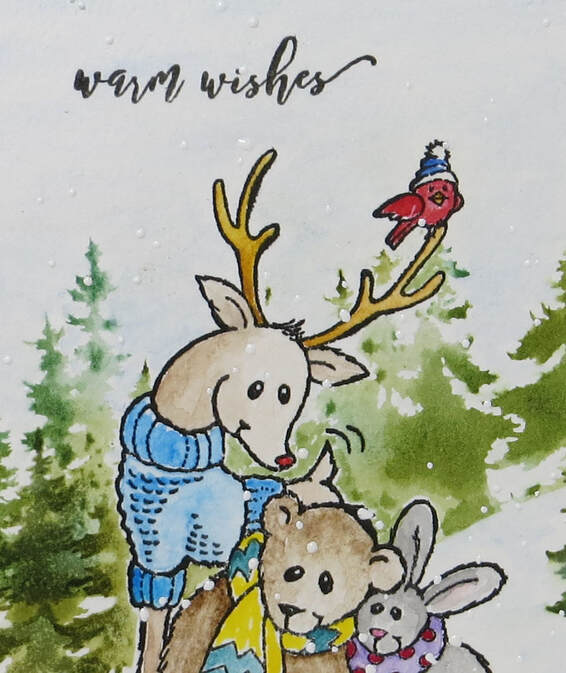
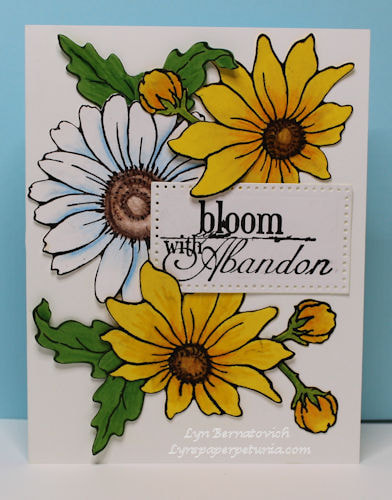
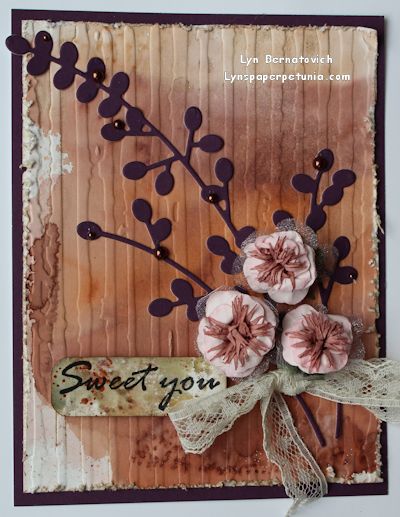
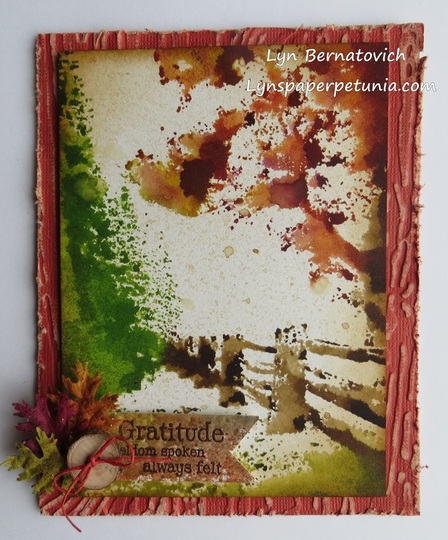
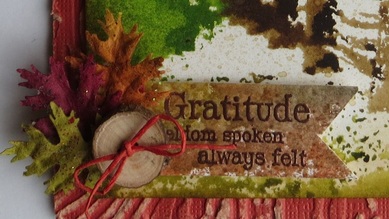
And here's my card:
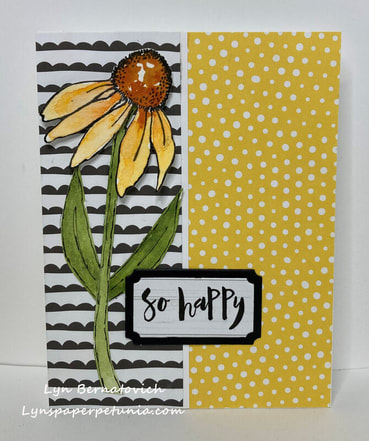
I love black and white with any third color combination as they always looks great together! However, the card design actually began with the daisy (Stampendous) as the focal point over the 2x5-1/2 inch black and white panel (Honey Bee The Bees Knees 6x6 pad). The flower was stamped (Versafine Onyx Black) on watercolor paper (Canson) using a stamping platform (The Misti). I freehand cut the stem and leaves from watercolor paper. The fun began when I water colored all the pieces! The painted and dry flower was then diecut. Once the flower was mounted with foam mounting tape (Scotch 3M), I doodled the stem and leaves (No. 5 Micron Pen). The sentiment (my stash) was stamped (Versafine Onyx Black) and diecut (ticket stubs Stampendous) with an additional larger diecut in black cardstock (FSJ) to ground the sentiment. I am "so happy" with this sweet little card!
Thanks for stopping by!
XOXO
LYN
Thanks for stopping by!
XOXO
LYN


 RSS Feed