
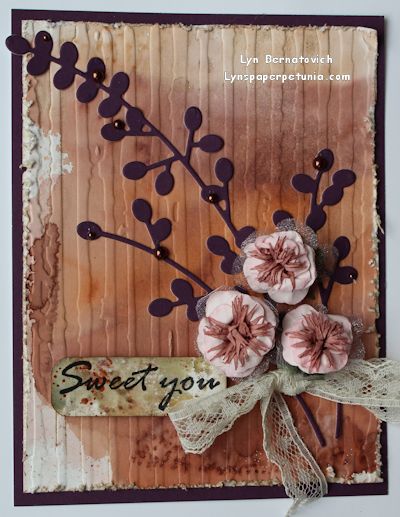
I didn't think I had any coffee stamps here in Florida, but I did! I shipped all of my A Muse Studio stamp sets and found a coffee mug image (Crazy Friends). Sherry recently brought me a couple of new sets that I forgot I ordered and there was the sentiment I needed (You Are My Sunshine). I was in business!
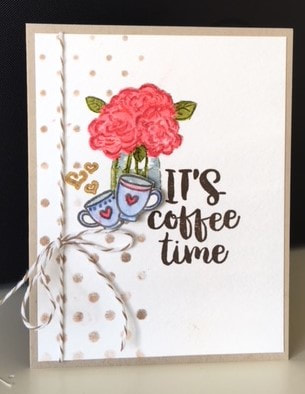
Since I don't have my Versafine Onyx Black (Amazon has taken care of me!), I decided to go with no line watercolor. I stamped the flowers in a vase in Distress Antique Linen and proceeded to paint with Distress re-inkers. The mugs were stamped with Memento Gray Flannel and water colored with Distress re-inkers. Sentiment stamped with Versafine Vintage Sepia. Dot stencil (Catherine Pooler Designs) dots (Distress Pumice Stone).
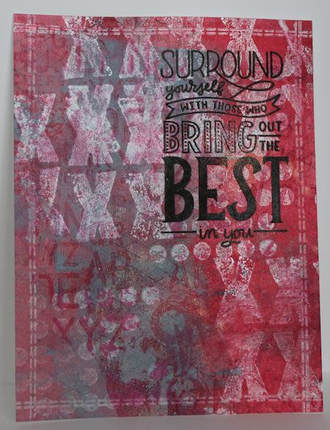
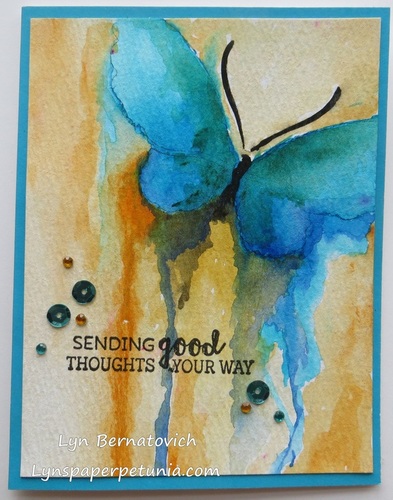
I would say the style of this card is #2 Clean and Layered.
Thanks for stopping by!
xoxo
LYN
I would say the style of this card is #2 Clean and Layered.
Thanks for stopping by!
xoxo
LYN


 RSS Feed