
It's that time of year for the Salmon River Fine Arts Center's annual 6x6 Community Art Show and FUND-raiser! This is my third year participating in this event and I'm excited to be a part of so many wonderful 6x6 art pieces. Follow the link above for show details.
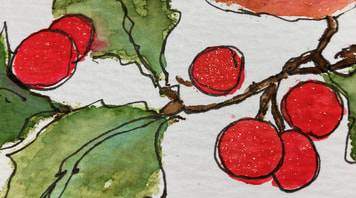
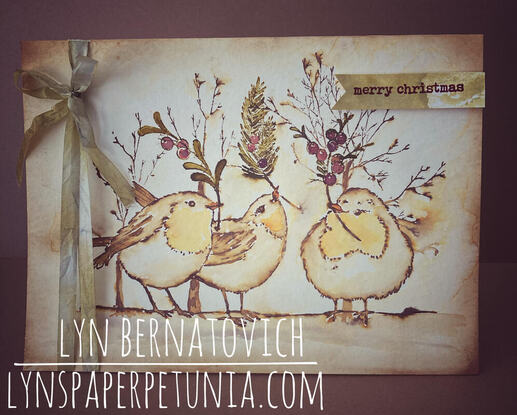
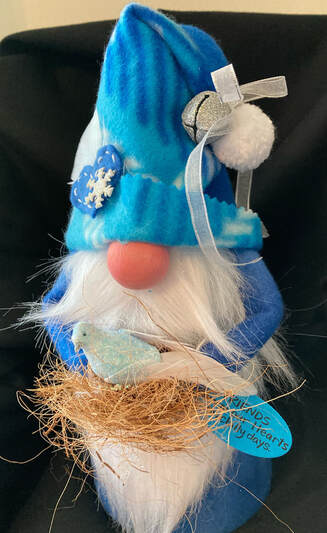
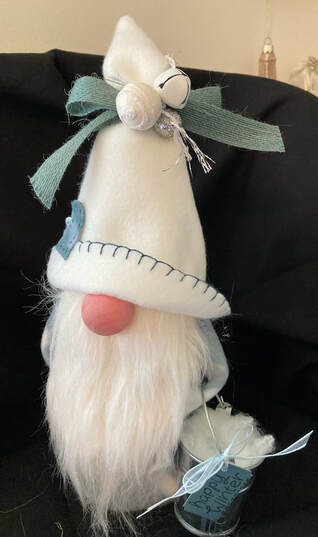
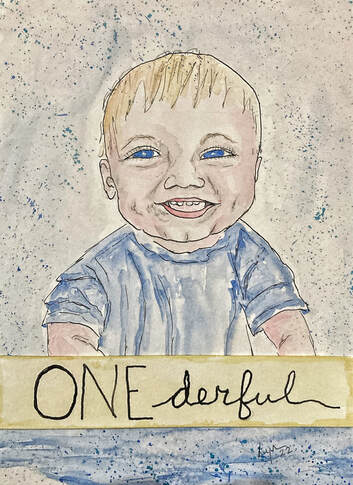
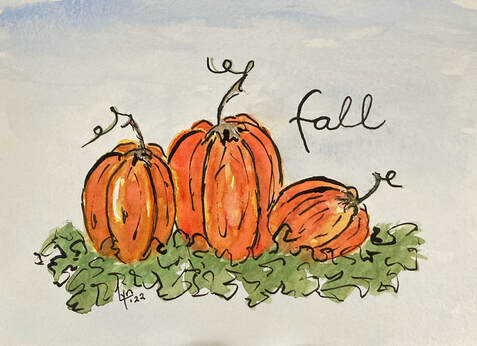
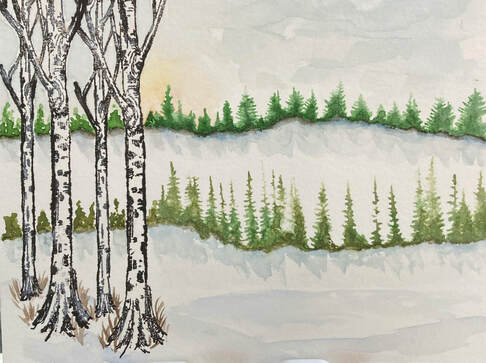
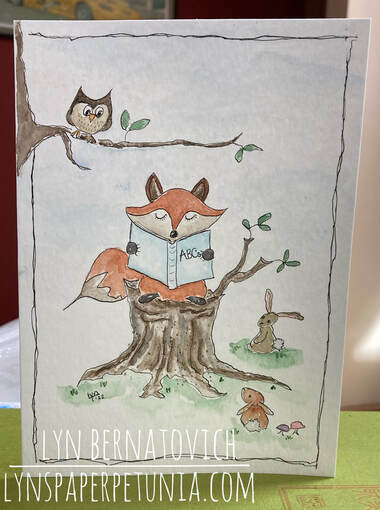
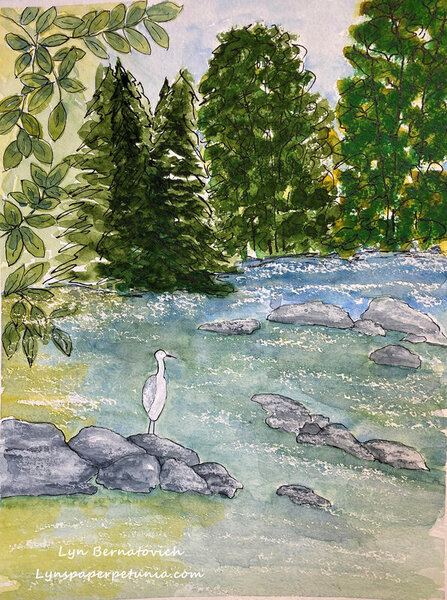
Meanwhile, here are my three watercolor submissions. Since I was back in NY when I painted two of the pieces, winter themes seemed a natural choice. The third painting was finished in FL and was inspired by needing to see signs of spring after a month of grey days in NY!
Meanwhile, here are my three watercolor submissions. Since I was back in NY when I painted two of the pieces, winter themes seemed a natural choice. The third painting was finished in FL and was inspired by needing to see signs of spring after a month of grey days in NY!
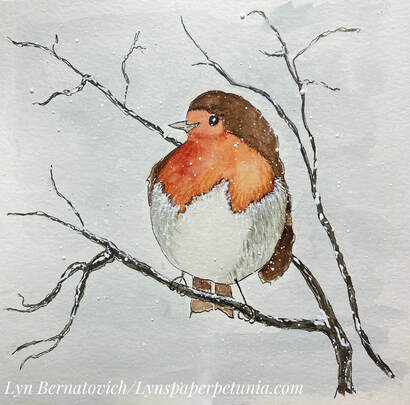
Robin in Winter
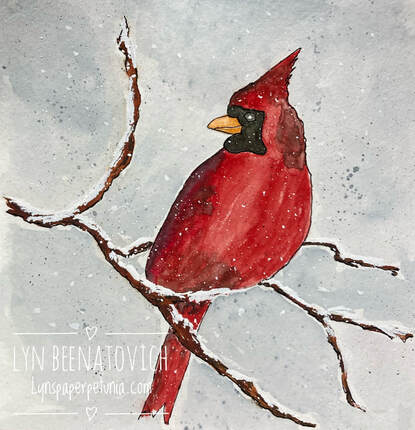
Cardinal in Winter
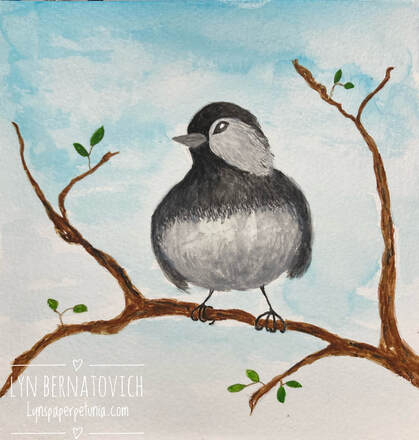
Chickadee in Spring
Thanks for stopping by!
XOXO
LYN


 RSS Feed