
This week's theme continues with Christmas in July and features Pretty Poinsettias. I love poinsettias and couldn't wait to play with the Create A Poinsettia Cling stamp set and Create A Poinsettia Coordinating Die Set! The possibilities are endless creating with this beautiful stamp and die. The poinsettia is large and since I prefer creating A2 size cards (5-1/2 x 4-1/4), I couldn't wait to see how I'd make everything fit.
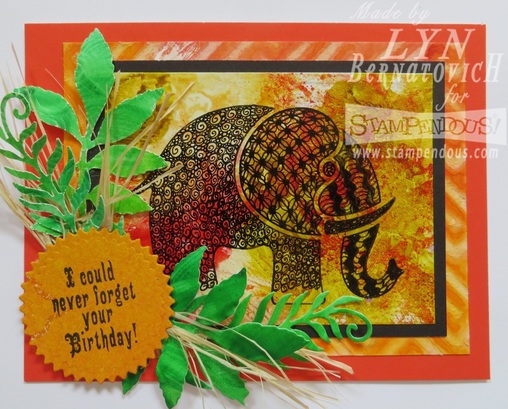
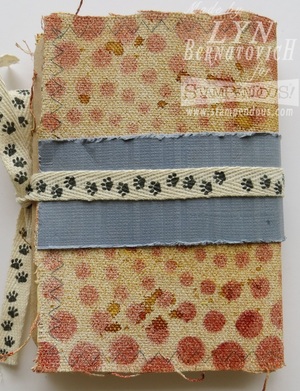
Here's my project for today:
Here's my project for today:
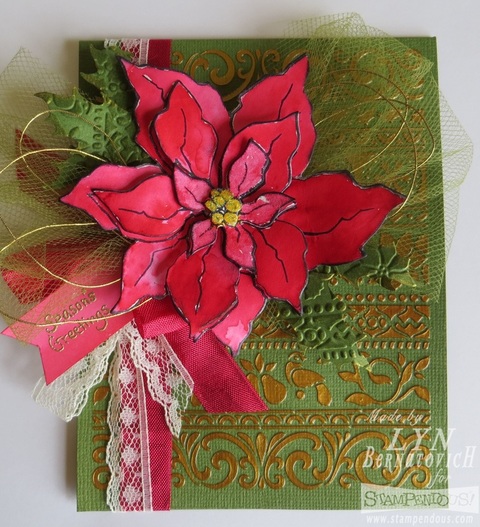
First, I cut Bazzill cardstock 11x4-1/4 and scored at 5-1/2. I taped the Dreamweaver Christmas Borders stencil over the card front on all 4 sides. Using a Palette Knife, I scooped out Dreamweaver Metallic Gold paste and spread it onto a Paste Spreader. Starting at the top of the stencil, I pulled the paste all the way down to the bottom of the stencil. The tape was pulled off on 3 sides and the stencil was gently lifted from the lower corner all the way up and off the card front taking the tape with it. The card front was set aside to dry.
I knew I wanted to diecut the poinsettia and create a 3D flower and that meant stamping it 3 times onto watercolor paper (Strathmore Bristol Smooth Surface) with Archival Black. My coloring medium I chose to work with was Ken Oliver's Color Burst Alizarin Crimson. This was the first time I had an opportunity to play with these intense pigment powders and I LOVE THEM!!!! I pretty much utilized the wet on wet watercolor technique and puffed the powder directly onto the wet areas. Sometimes I puffed a little powder onto my Palette Paper and added water to the powder and picked up color that way. I loved the fluid nature of the powders and the vibrant color I achieved.
Once the water coloring was completely dry, I diecut the poinsettias with the Create A Poinsettia Coordinating Die Set. They were glued together using a hot glue tool. The center of the Poinsettia was glittered with Stampendous Sunflower Ultra Fine Glitter from the Spring Micro Glitter Kit using a Tsukineko Quickie Glue Pen.
I felt the poinsettia needed some leaves for added embellishment. I diecut the same Bazzill cardstock using the Dreamweaver Holly Die. TIP: Layer a piece of wax paper between the die and cardstock to smoothly aid in the release of the paper from the die. Works like a charm! For added texture, I embossed them with the Dreamweaver Christmas Borders Embossing Folder. A little swipe of Versafine Olive across the raised areas was added for better definition. The edges were hit with Tsukineko Delicata Golden Glitz ink. The individual leaves were randomly inserted under the poinsettia with dabs of hot glue.
A faux tag was created with a scrap piece and the Christmas Visions Perfectly Clear Stamp was inked with VersaMark ink and heat embossed with Stampendous Detail Gold embossing powder.
Card Assembly: I love creating vintage-style cards and what's vintage without some tulle and gold thread? A length of the gold thread (my stash) was looped into a figure 8 and hot glued to the back of the poinsettia. Tulle (Paper Mart) was tied into a bow and also hot glued to the back of the poinsettia. The poinsettia was then hot glued to the card front. Ribbon (Hug Snug Venetian Red) and lace (my stash) were added last. The faux tag was stuck into the ribbon using a hot glue tool.
I hope you enjoyed my 'rather lengthy' card process today! I'd love you to leave a comment before you hop to the next designer's blog. Thank you for stopping by!
Stampendous Blog
Laura Drahozal
Lyn Bernatovich
Kristine Reynolds
Louise Healy
Pam Hornschu
Disclaimer: I'm so happy to be a Stampendous Design Team Member and to help promote their wonderful products. They generously supply us with many free goodies like these Stampendous Stamps, Glitters, Dreamweaver Stencils and Paste, and Bazill Papers that I'm using today.


 RSS Feed